The first thing you notice is the aroma of fresh apples, lightly caramelized by the sugar that’s about to mingle with butter. The texture of the batter is a silky, slightly chunky ribbon that slides easily between your fingers. As you stir, the room fills with the comforting scent of baking powder and the faintest hint of nutmeg, like a memory wrapped in a warm blanket. The sight of the apples, diced and ready, feels like a promise of sweet, tart bursts in every bite. The sound of the oven door closing is the quiet punctuation that signals the start of a delicious journey.
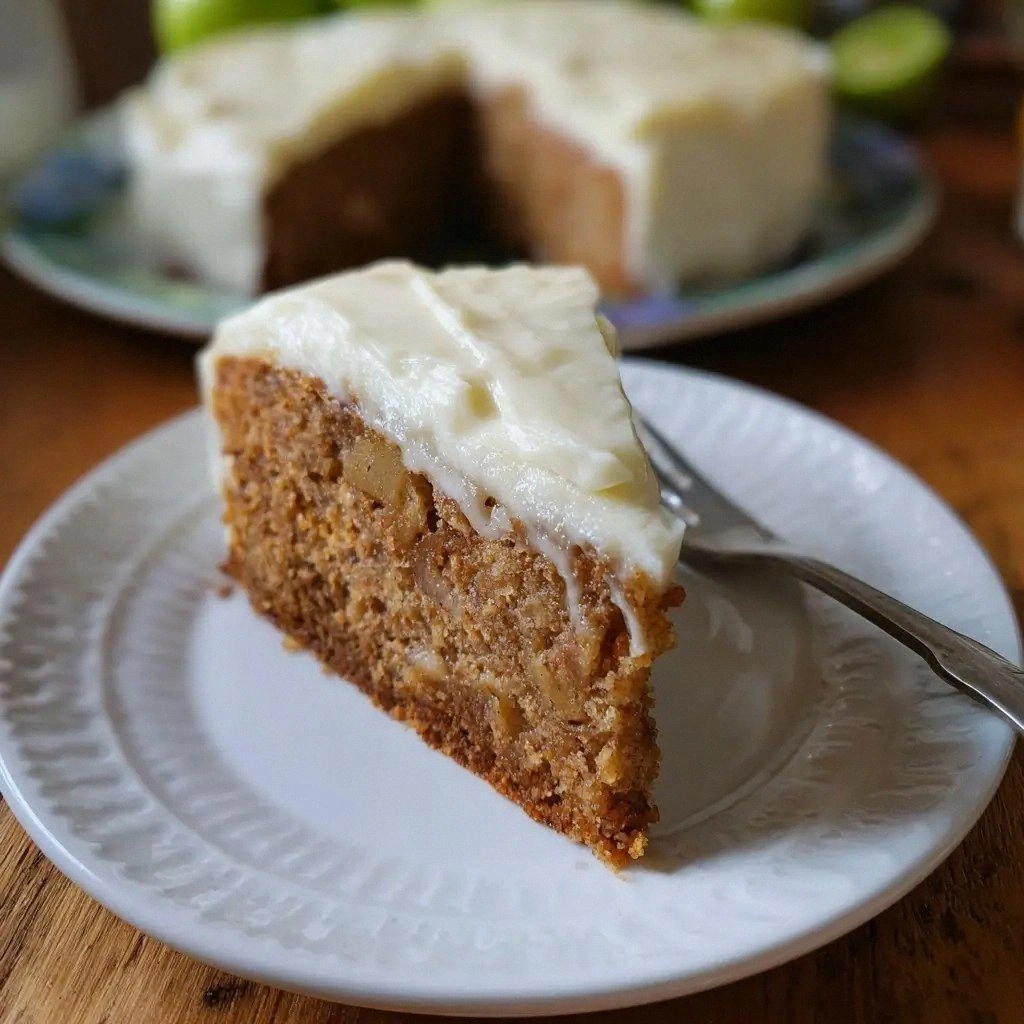
What makes this version stand out is that it’s not just about the gluten‑free flour; it’s about the harmony of flavors and textures that dance together. The apples stay plump and fragrant, not mushy, thanks to the right balance of acid and sugar. The crumb is tender yet sturdy, a testament to the precise use of leavening agents. The frosting is a velvety cream cheese glaze that coats the cake like a silky blanket, adding a subtle tang that lifts the sweetness. The result is a cake that feels indulgent but is surprisingly light on the stomach. And the best part? It’s a recipe that can be shared, made ahead, and still tastes fresh on the first bite.
If you’re thinking this is just another cookie‑jar recipe, think again. There’s a secret ingredient that elevates the whole experience: a splash of lemon juice that brightens the apple’s natural sweetness and keeps the batter from browning too quickly. The combination of ground cinnamon and nutmeg creates a spice profile that feels like a cozy winter evening, even if you’re baking in the middle of summer. The use of a gluten‑free all‑purpose blend that contains xanthan gum ensures the cake has that familiar, slightly elastic texture you love in traditional cakes. I dare you to taste this and not go back for seconds; the flavor is addictive without being overbearing. This is hands down the best version you'll ever make at home.
What Makes This Version Stand Out
- Flavor: The apples are the star, their natural tartness balanced by brown sugar and a dash of lemon juice that keeps the batter bright and lively.
- Texture: The gluten‑free flour blend, enriched with xanthan gum, gives the cake a tender crumb that rises evenly, while the diced apples add a pleasant chew.
- Simplicity: No complicated techniques—just whisk, fold, bake, and frost. Even a novice can master this.
- Uniqueness: The cream cheese frosting adds a tang that cuts through the sweetness, creating a flavor contrast rarely seen in apple cakes.
- Crowd Reaction: Guests rave about how “almost non‑gluten” the cake feels, making it a perfect dessert for both gluten‑free and regular eaters.
- Ingredient Quality: Using fresh, organic apples and real butter ensures that each bite is packed with authentic flavor.
- Cooking Method: A single pan, a single bake—no need to juggle multiple dishes.
- Make‑Ahead Potential: The cake can be baked, frosted, and stored for up to a week without losing its freshness.
Alright, let's break down exactly what goes into this masterpiece. The recipe is built around a few core principles: balance, texture, and that unmistakable apple aroma that lingers long after the last bite. Every ingredient has been chosen to play a role—some to lift the batter, some to add depth, and some to finish with a silky finish.
Inside the Ingredient List
The Flavor Base
The foundation of this cake is the gluten‑free flour blend, which replaces wheat flour with a mix of rice flour, potato starch, and tapioca starch. This blend is designed to mimic the lightness of traditional cake flour while providing enough structure to hold the batter together. Without it, the cake would crumble or taste gritty. The baking powder and baking soda work together to create lift, while the pinch of salt balances the sweetness and enhances the apple’s natural flavor.
The Texture Crew
The butter and brown sugar form a rich, caramelized base that creates a moist crumb. When melted together, they dissolve the sugar and create a glossy batter that traps steam during baking. The eggs act as a binder, keeping the mixture cohesive, while the vanilla extract adds a subtle warmth that ties the flavors together. Together, these ingredients produce a cake that feels buttery and airy, with a slight chew from the diced apples.
The Unexpected Star
The lemon juice is the unsung hero in this recipe. A tablespoon of fresh lemon juice brightens the batter, preventing the apples from oxidizing and turning brown. It also adds a subtle tartness that cuts through the richness of the butter and frosting, creating a balanced flavor profile. If you’re allergic to citrus, a splash of apple cider vinegar can replace the lemon juice without compromising the cake’s brightness.
The Final Flourish
The frosting is a creamy, tangy addition that elevates the cake from ordinary to extraordinary. Cream cheese provides a silky texture, while powdered sugar gives it a smooth sweetness. The butter adds richness, and the vanilla extract ties everything together. This frosting coats the cake like a velvet blanket, making each slice feel indulgent yet not overly sweet.
Everything's prepped? Good. Let's get into the real action. The key to a perfect apple cake is timing, precision, and a little bit of intuition. You’ll notice that each step is designed to build layers of flavor, texture, and aroma that culminate in a cake that’s both comforting and sophisticated.
The Method — Step by Step
- Preheat your oven to 350°F (175°C). Line a 9‑inch round cake pan with parchment paper, leaving a little overhang on the sides. This ensures easy removal and gives the cake a clean finish. While the oven heats, gather all your ingredients to keep the process smooth and efficient.
- In a large mixing bowl, whisk together the gluten‑free flour blend, baking powder, baking soda, and salt. This dry mixture should be light and airy, indicating that the leavening agents are evenly distributed. A fine sieve can help eliminate clumps, ensuring a consistent batter.
- In a separate bowl, cream the softened butter and brown sugar together until the mixture is pale and fluffy. This usually takes about 3 minutes with an electric mixer on medium speed. The goal is to incorporate air, which will make the cake rise and give it a tender crumb.
- Add the eggs one at a time, beating well after each addition. The batter should become glossy and smooth. Then stir in the vanilla extract and lemon juice, allowing the flavors to meld. At this point, you’ll notice a subtle citrus aroma that signals the cake’s bright character.
- Gently fold the dry ingredients into the wet mixture using a spatula, mixing just until the flour is incorporated. Over‑mixing can cause the cake to become dense, so be gentle. The batter should be thick but pourable, like a thick custard.
- Fold in the diced apples, cinnamon, and nutmeg. The apples should be evenly distributed, so each bite contains a burst of fruit. This step is crucial for the cake’s texture; the apples add moisture and a slight chew that contrasts with the crumb.
- Pour the batter into the prepared pan, smoothing the top with a spatula. Tap the pan lightly on the counter to release any large air pockets. The batter should fill the pan about three‑quarters full, giving room for the cake to rise without spilling over.
- Place the pan in the preheated oven and bake for 30–35 minutes. The cake is done when a toothpick inserted into the center comes out clean or with just a few moist crumbs. The top should have a golden‑brown hue, and the edges should pull away slightly from the pan.
- Remove the cake from the oven and let it cool in the pan for 10 minutes. Then transfer it to a wire rack to cool completely. This step prevents the cake from becoming soggy at the bottom. While the cake cools, you’ll notice the aroma of baked apples and spices filling the kitchen.
- Prepare the frosting by beating the softened cream cheese and butter together until smooth. Gradually add the powdered sugar, one cup at a time, until the frosting reaches a spreadable consistency. Stir in the vanilla extract, then spread the frosting evenly over the cooled cake. The frosting should set into a glossy finish that catches the light.
That's it — you did it. But hold on, I've got a few more tricks that'll take this to another level. The next sections will give you insider knowledge that will elevate your baking game and make you the hero of every gathering.
Insider Tricks for Flawless Results
The Temperature Rule Nobody Follows
Many bakers think that any oven will do, but the reality is that temperature accuracy is crucial for a gluten‑free cake. An oven that runs 10°F higher can cause the cake to rise too quickly and then collapse, while an oven that’s too cool will result in a dense, under‑baked center. I’ve had the oven’s thermometer replaced twice, and the difference in texture is night and day. Use an oven thermometer and adjust the temperature accordingly; it’s the simplest way to ensure consistent results.
Why Your Nose Knows Best
Your nose is your best judge of doneness. The cake will emit a sweet, apple‑cinnamon aroma when it’s ready. If you’re uncertain, insert a toothpick; if it comes out clean or with a few moist crumbs, you’re good. I once forgot to check the aroma and served a cake that was still raw in the center—lesson learned. Trust your senses, and you’ll avoid the dreaded “half‑baked” situation.
The 5‑Minute Rest That Changes Everything
After removing the cake from the oven, let it sit in the pan for exactly 10 minutes before transferring it to a wire rack. This short rest allows the cake to set, making it easier to remove without breaking. The residual heat continues to cook the cake gently, ensuring the interior is fully cooked while the exterior remains golden. A quick 5‑minute rest after frosting also helps the glaze set, preventing it from sliding off the cake.
Keep the Apples Fresh
To keep the diced apples from browning before baking, toss them in a little lemon juice or apple cider vinegar. The acid prevents oxidation and maintains a bright color. If you’re using apples that are naturally sweet, like Gala or Fuji, you can skip the lemon juice, but a splash of acid always adds a nice brightness.
Don’t Skip the Parchment
Parchment paper is not just a convenience; it’s a safeguard against sticking and uneven browning. I’ve seen cakes that cling to the pan, tearing when you try to lift them. By lining the pan and allowing a little overhang, you can flip the cake onto a plate with confidence. It also makes for an easier clean‑up.
Let the Frosting Set Before Serving
After spreading the frosting, let the cake sit at room temperature for at least 30 minutes. This gives the frosting enough time to firm up and develop a glossy finish. If you’re in a hurry, a quick chill in the fridge will set the frosting, but it can make the cake feel a little dry.
Creative Twists and Variations
This recipe is a playground. Here are some of my favorite ways to switch things up:
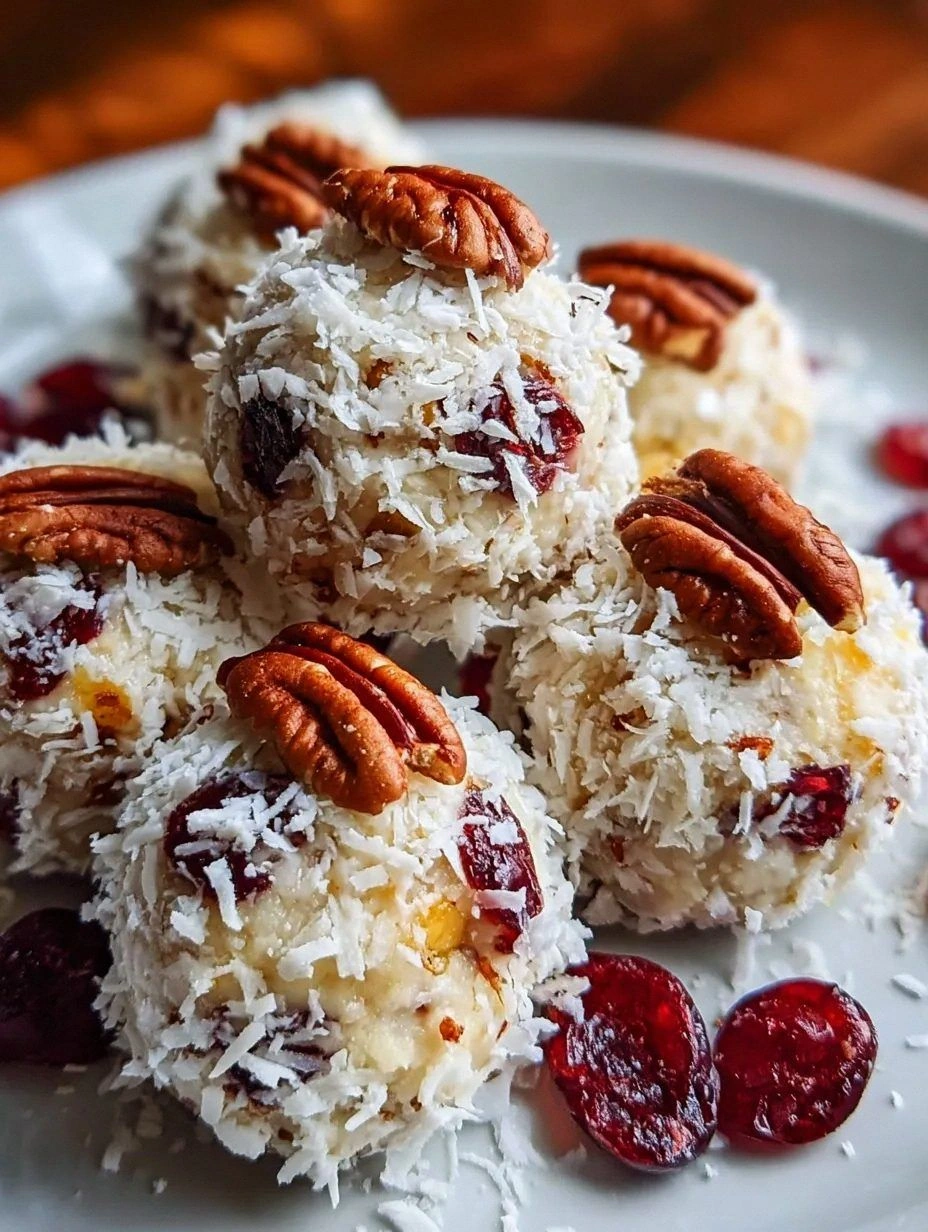
Nutty Apple Crunch
Add ½ cup of chopped walnuts or pecans to the batter for a crunchy texture. The nuts add a buttery flavor that complements the apples, and they give the cake an extra bite. Toast the nuts lightly before adding for a deeper flavor profile.
Caramel Swirl
Swirl caramel sauce into the batter before baking. The caramel creates pockets of sweet, gooey delight that melt in your mouth. Use a light drizzle to avoid overpowering the apple flavor.
Spiced Citrus Twist
Replace the lemon juice with orange zest and a splash of orange juice. The citrus adds brightness and pairs wonderfully with the cinnamon. This variation is perfect for springtime celebrations.
Almond Flour Upgrade
Swap the gluten‑free blend for 1 cup almond flour and ¾ cup oat flour. The result is a slightly denser cake with a nutty undertone. This variation is great for those who prefer a low‑carb option.
Chocolate Chip Apple Cake
Add ½ cup dairy‑free chocolate chips to the batter. The chocolate provides a rich contrast to the apple, and the chips add a delightful surprise in every bite. Use dark chocolate for a sophisticated flavor.
Maple‑Infused Frosting
Replace the vanilla extract in the frosting with 1 tablespoon maple syrup. The maple adds depth and a subtle sweetness that complements the apple. This version is ideal for holiday gatherings.
Storing and Bringing It Back to Life
Fridge Storage
Wrap the cake tightly in plastic wrap and store in the refrigerator for up to 5 days. The frosting stays fresh and the cake remains moist. When you’re ready to serve, let it sit at room temperature for about 30 minutes to bring out the full flavor.
Freezer Friendly
Freeze the cake, still wrapped, for up to 2 months. To thaw, leave it in the refrigerator overnight and then let it warm to room temperature. If the frosting has hardened, gently reheat the cake in a low‑heat oven (250°F) for 5 minutes to soften the glaze.
Best Reheating Method
To reheat, preheat your oven to 250°F (120°C). Place the cake on a parchment‑lined sheet and bake for 10–12 minutes. Add a splash of water to the pan before reheating to create steam, which keeps the cake moist. This technique ensures the cake doesn’t dry out while restoring its original warmth.