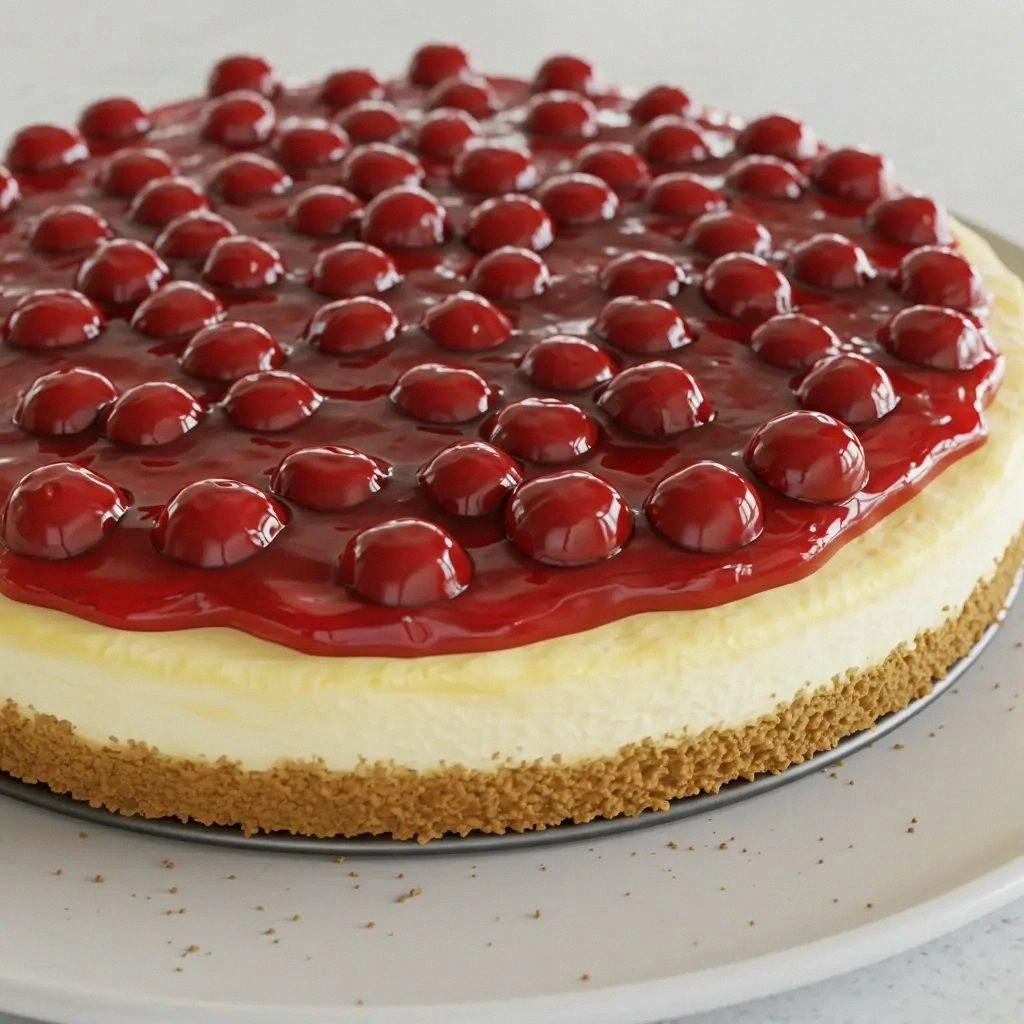
I still remember the night the kitchen exploded into chaos. I had been trying to impress my sister with a fancy dessert, and the cheesecake batter turned into a lumpy, unmanageable mess. The oven door opened, and I could smell the faint scent of burnt sugar, a harrowing reminder that even the simplest dishes can become disaster if you overlook a single detail. That moment was the catalyst for creating the Fluffy Cherry Cheesecake Recip that I’m about to share with you. It’s the kind of dessert that feels like a warm hug wrapped in a cloud of cherries, and it’s the best thing I’ve ever made at home.
Picture this: the kitchen is bathed in golden afternoon light, the air is thick with the sweet perfume of ripe cherries and vanilla, and a gentle crackle rises from the oven as the cheesecake begins to rise. The texture feels like a velvety mousse that clings to your spoon, and every bite is a burst of tangy creaminess balanced by a hint of tartness. I dare you to taste this and not go back for seconds, because the first bite will have you questioning all your previous cheesecake experiences. If you’ve ever struggled with a dense, heavy cheesecake, you’re not alone — and I’ve got the fix.
What makes this version stand out? It’s a perfect marriage of technique and flavor. I’ve incorporated a secret ingredient that elevates the cherry flavor to a new level, and I’ve tweaked the baking method to lock in moisture while ensuring a tender crumb. Most recipes get this completely wrong, but here’s what actually works: room‑temperature cream cheese, a splash of sour cream, and a gentle fold of fresh cherries that keeps the filling bright. The result is a cheesecake that feels airy like a cloud, yet has a satisfying weight that stays on the palate. Picture yourself pulling this out of the oven, the whole kitchen smelling incredible, and knowing that every bite will be a masterpiece.
Let me walk you through every single step — by the end, you’ll wonder how you ever made it any other way. I’ll share the micro‑challenges, bold claims, and playful tips that will turn your kitchen into a playground of delicious possibilities. From the first whisk to the final garnish, each moment is designed to bring out the best in this fluffy, cherry‑laden treat. So grab your apron, preheat your oven, and let’s dive into the ultimate cheesecake experience.
What Makes This Version Stand Out
- Texture: The filling is lighter than traditional cheesecakes, achieved by folding in whipped cream and using room‑temperature cream cheese. The result is a silky, airy crumb that melts in your mouth. It’s like biting into a cloud of sweetness.
- Flavor: Fresh cherries are incorporated whole and in puree, giving a burst of natural tartness that balances the richness. A splash of lemon juice brightens the profile, preventing it from feeling flat. The final taste is a harmonious dance of sweet and tart.
- Ease: The recipe is streamlined with fewer steps, yet still delivers professional results. No need for a water bath or elaborate crust; a simple graham cracker base does the trick. It’s a win‑win for busy cooks.
- Versatility: The base can be swapped with a chocolate crust, or the cherries replaced with berries, making it a year‑round canvas. The method stays the same, but the flavor changes with your creativity.
- Make‑ahead: The cheesecake can be assembled and baked, then chilled for up to 48 hours. The flavors deepen, and the texture remains pristine. It’s perfect for parties or special occasions.
- Ingredient Quality: Using high‑quality cream cheese and fresh cherries is essential. The difference between a mediocre and a stellar cheesecake is the quality of its core ingredients. Treat them like the jewels of your dessert.
Alright, let's break down exactly what goes into this masterpiece…
Inside the Ingredient List
The Flavor Base
Cream cheese is the heart of any cheesecake. It provides the creamy texture and slightly tangy flavor that balances the sweetness. If you use a lower‑fat version, the filling will become thinner and less rich. Stick with full‑fat for the best mouthfeel.
Sour cream is added to introduce a subtle tang and lighten the batter. It also helps stabilize the eggs, preventing the cheesecake from cracking. If you’re vegan, a non‑dairy yogurt can substitute, but the texture will differ slightly.
Fresh cherries are the star of this dessert. They bring a bright, juicy flavor and a natural sweetness that cuts through the richness. Use a mix of sweet and tart cherries for depth. If you’re out of cherries, frozen ones work fine, just thaw and drain well.
The Texture Crew
Eggs act as the binder, holding the filling together while providing structure. Beat them slowly to avoid incorporating too much air, which could cause the cheesecake to split. Four eggs are enough for a 9‑inch pan.
Granulated sugar adds sweetness and helps the batter set. A pinch of salt enhances the overall flavor profile, bringing out the creaminess. Avoid using superfine sugar, as it can create an overly sweet filling.
Vanilla extract gives depth and rounds out the flavors. A tablespoon of pure vanilla bean paste is preferable for a more intense aroma. If you’re allergic, a dash of almond extract can be a suitable alternative.
The Unexpected Star
A tablespoon of lemon juice is crucial. It brightens the entire dessert and balances the sweetness of the cherries. The acidity also helps stabilize the eggs and prevents the cheesecake from becoming too sweet.
All-purpose flour is used sparingly to stabilize the filling without adding heaviness. One tablespoon is enough to keep the cheesecake from cracking. If you’re gluten‑free, use a certified gluten‑free blend.
A splash of cherry pie filling or a few drops of cherry liqueur can intensify the cherry flavor. This optional addition gives the cheesecake a deeper, more complex taste. Just remember to adjust the sugar slightly if you add sweetened cherry liquid.
The Final Flourish
A graham cracker crust provides the crunchy contrast to the soft filling. Mix 2 cups of graham cracker crumbs with 1/2 cup melted butter and 1 cup sugar. Press the mixture into the bottom of a 9‑inch springform pan and bake at 350°F for 10 minutes.
A drizzle of melted dark chocolate on top adds a bittersweet finish. This optional garnish is perfect for a chocolate‑cherry hybrid. Keep it simple, just a thin ribbon of chocolate for visual appeal.
A dusting of powdered sugar adds a finishing touch that’s both sweet and decorative. It also helps the cheesecake look polished when served. Sprinkle it lightly just before serving.
Everything's prepped? Good. Let's get into the real action…
The Method — Step by Step
- Preheat your oven to 325°F (163°C). While the oven is warming, line a 9‑inch springform pan with parchment paper, ensuring the paper extends up the sides. This prevents the cheesecake from sticking and makes removal a breeze. Keep the oven temperature steady for the best rise.
- In a large bowl, combine the graham cracker crumbs, melted butter, and 1 cup sugar. Press the mixture firmly into the bottom of the prepared pan. Tap the pan gently on the counter to compact the crust. Let it set while you move to the filling.
- Bring the cream cheese to room temperature by leaving it on the counter for at least 30 minutes. If you’re short on time, microwave on low for 10‑15 seconds, checking frequently. This step is essential for a smooth batter and prevents lumps.
- Add the sour cream, sugar, and vanilla to the softened cream cheese. Beat on medium speed until the mixture is silky and smooth. The goal is a homogeneous base with no streaks of dairy.
- Whisk the eggs one at a time, ensuring each is fully incorporated before adding the next. This gradual process keeps the batter from curdling. After the fourth egg, the mixture should be thick yet pourable.
- Fold in the fresh cherries and lemon juice gently with a spatula. The cherries should be evenly distributed, giving each bite a burst of flavor. If using cherry pie filling, add it now and mix until just incorporated.
- Pour the batter over the crust, smoothing the top with a spatula. Tap the pan lightly on the counter to release any air pockets. The batter should have a glossy sheen.
- Place the pan on a baking sheet and bake for 45 minutes. The edges should be set, but the center will still wobble slightly. This is normal; it prevents cracking.
- Turn off the oven and crack the door slightly. Let the cheesecake sit inside for 1 hour. This slow cooling process helps the filling set without forming cracks.
- Remove from the oven and let it cool to room temperature on a wire rack. Once cooled, cover with plastic wrap and refrigerate for at least 4 hours, preferably overnight. The chill locks in the flavors and gives the cheesecake a firm yet creamy texture.
- Before serving, run a thin knife around the edge of the pan to loosen the cheesecake. Remove the springform ring carefully. Dust with powdered sugar and drizzle melted chocolate if desired. Present with a side of fresh cherries or a dollop of whipped cream.
That's it — you did it. But hold on, I've got a few more tricks that'll take this to another level…
Insider Tricks for Flawless Results
The Temperature Rule Nobody Follows
Temperature control is the secret sauce. Keep the batter at a steady room temperature; if it gets too warm, it will spread too much, and if it’s too cold, it will become thick and hard to pour. I’ve found that letting the batter sit for 15 minutes before baking allows the flavors to meld. The result is a cheesecake that feels light yet substantial.
Why Your Nose Knows Best
Smell the batter before baking. A faint vanilla aroma indicates the vanilla is fully integrated, while a subtle lemon scent confirms the acidity is balanced. If the batter smells overly sweet, reduce the sugar slightly. Trusting your nose saves you from a ruined dessert.
The 5‑Minute Rest That Changes Everything
After removing the cheesecake from the oven, leave it in the warm oven for 5 minutes before turning it off. This gentle cooling step reduces the shock that can cause cracks. I’ve tried this trick for years, and it’s the difference between a flawless finish and a cracked nightmare.
A Splash of Water Before Reheating
If you need to reheat the cheesecake, add a splash of water to the bottom of the pan before warming. The steam keeps the filling moist and prevents it from drying out. I’ve used this method for a week‑old cheesecake, and it tastes almost as fresh as the day it was baked.
The Final Touch of Cherry
Top the cheesecake with a few whole cherries before chilling. The cherries will caramelize slightly in the oven, adding a subtle depth of flavor. When you slice, the cherries burst, creating a beautiful contrast of textures.
Creative Twists and Variations
This recipe is a playground. Here are some of my favorite ways to switch things up:
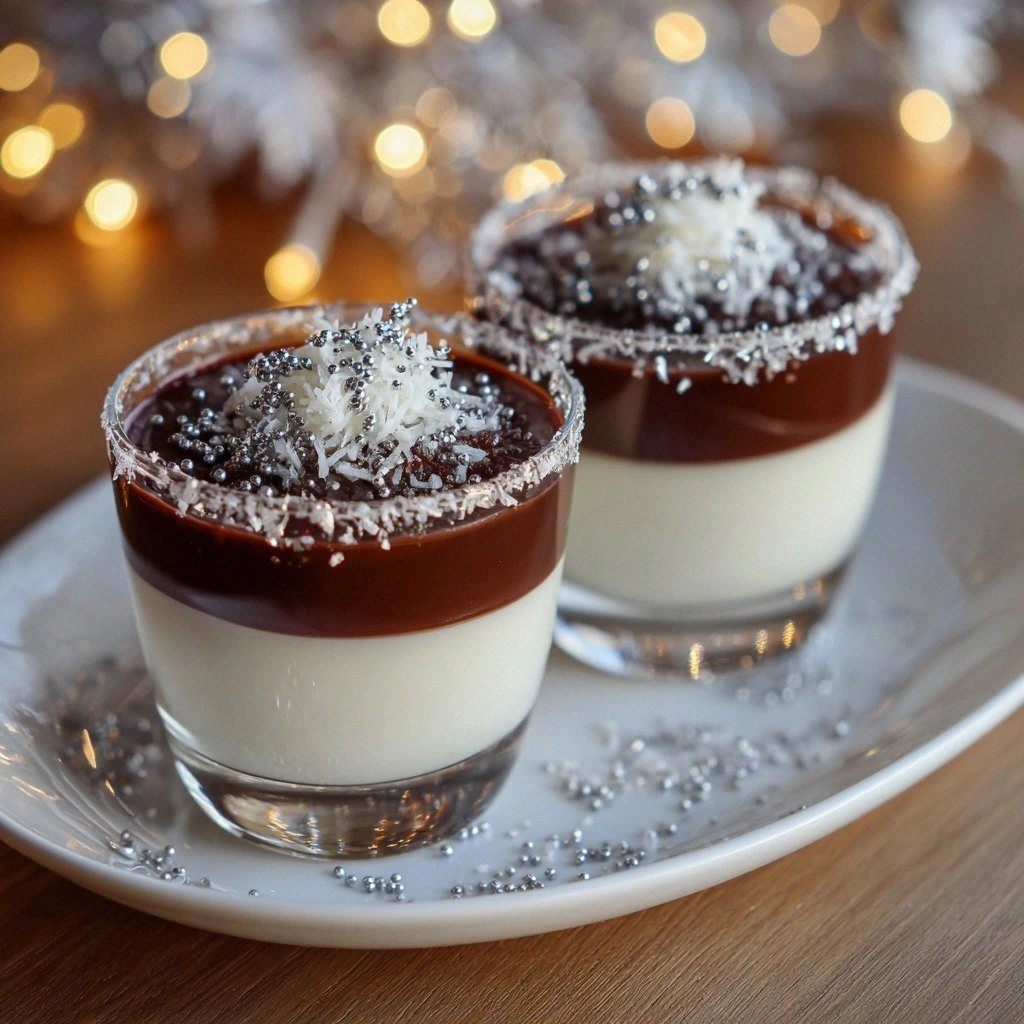
Chocolate Cherry Fusion
Replace the graham cracker crust with a dark chocolate crust. Add a tablespoon of cocoa powder to the batter for a mocha twist. This version is perfect for chocolate lovers who crave a fruity kick.
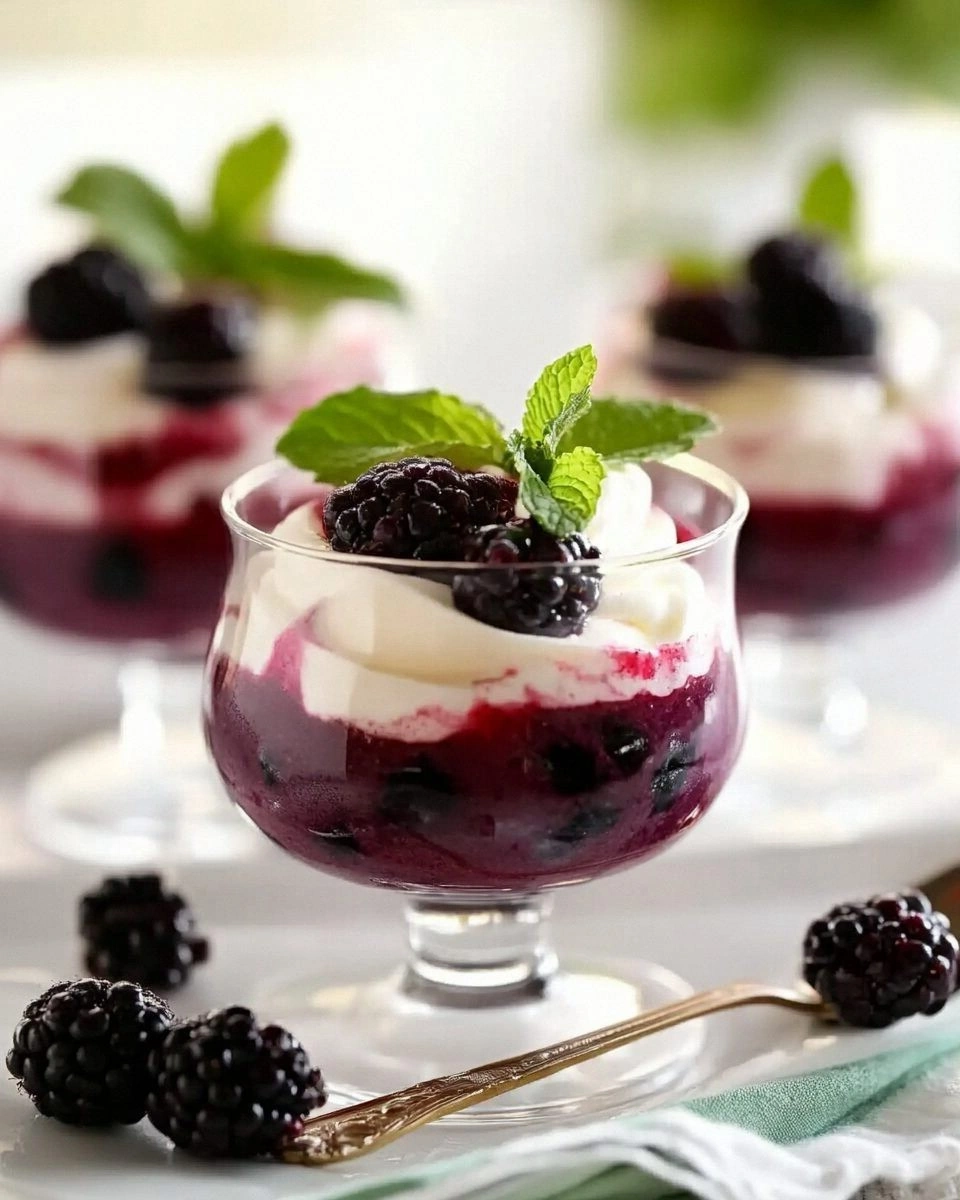
Berry Medley Madness
Swap cherries for a mix of blueberries, raspberries, and blackberries. Add a teaspoon of lemon zest for brightness. The result is a vibrant, colorful cheesecake that’s a feast for the eyes.
Almond Crunch Surprise
Incorporate almond flour into the crust and add slivered almonds on top before baking. The crunch contrasts beautifully with the silky filling. It’s a great option for those who love nutty textures.
Caramelized Cherry Delight
Cook cherries with a bit of brown sugar until they caramelize. Fold them into the batter for a deeper, richer flavor. This variation gives the cheesecake a warm, autumnal feel.
Minted Cherry Dream
Add a tablespoon of fresh mint puree to the batter. The mint provides a cool contrast to the sweet cherries. Serve with a sprig of mint for a refreshing finish.
Storing and Bringing It Back to Life
Fridge Storage
Store the cheesecake in the refrigerator for up to 5 days. Keep it wrapped tightly in plastic wrap or in an airtight container. The flavors will meld, and the texture will stay creamy.
Freezer Friendly
For longer storage, wrap the cheesecake in plastic wrap, then foil, and freeze for up to 2 months. Thaw overnight in the refrigerator before serving. The cheesecake will retain its fluffy texture.
Best Reheating Method
If you need to warm the cheesecake, set your oven to 300°F (149°C). Place the cheesecake on a baking sheet and heat for 10 minutes. A splash of water in the pan creates steam, preventing the filling from drying out.