Picture this: I’m in the middle of a frantic Sunday brunch prep, the oven is on, the timer is set, and my phone is buzzing with a friend’s text: “I’m craving a French apple cake, but I’m gluten‑free.” I stared at the recipe book, then at the list of ingredients that made my heart race—cookies, almonds, apples, flour, sugar, butter, eggs, vanilla. I laughed, because it sounded like a culinary nightmare, yet the thought of a moist, caramelized apple cake with a crunchy, cookie‑crusted top made me grin. I knew I had to test this out, because a kitchen disaster was the perfect excuse for a daring experiment. I was ready to turn a potential flop into a triumphant, gluten‑free masterpiece.
The first thing that caught my eye was the aroma of fresh apples. As I diced the Gala apples, the sweet scent filled the kitchen, mingling with the buttery aroma of melted butter. The sound of the knife cutting through crisp fruit was like a gentle drumbeat, encouraging me to keep going. The texture of the apples—crisp yet yielding—was a promise of the cake’s eventual softness. The sight of the golden, toasted cookie crust that would soon form was a visual cue that this cake would be irresistible.
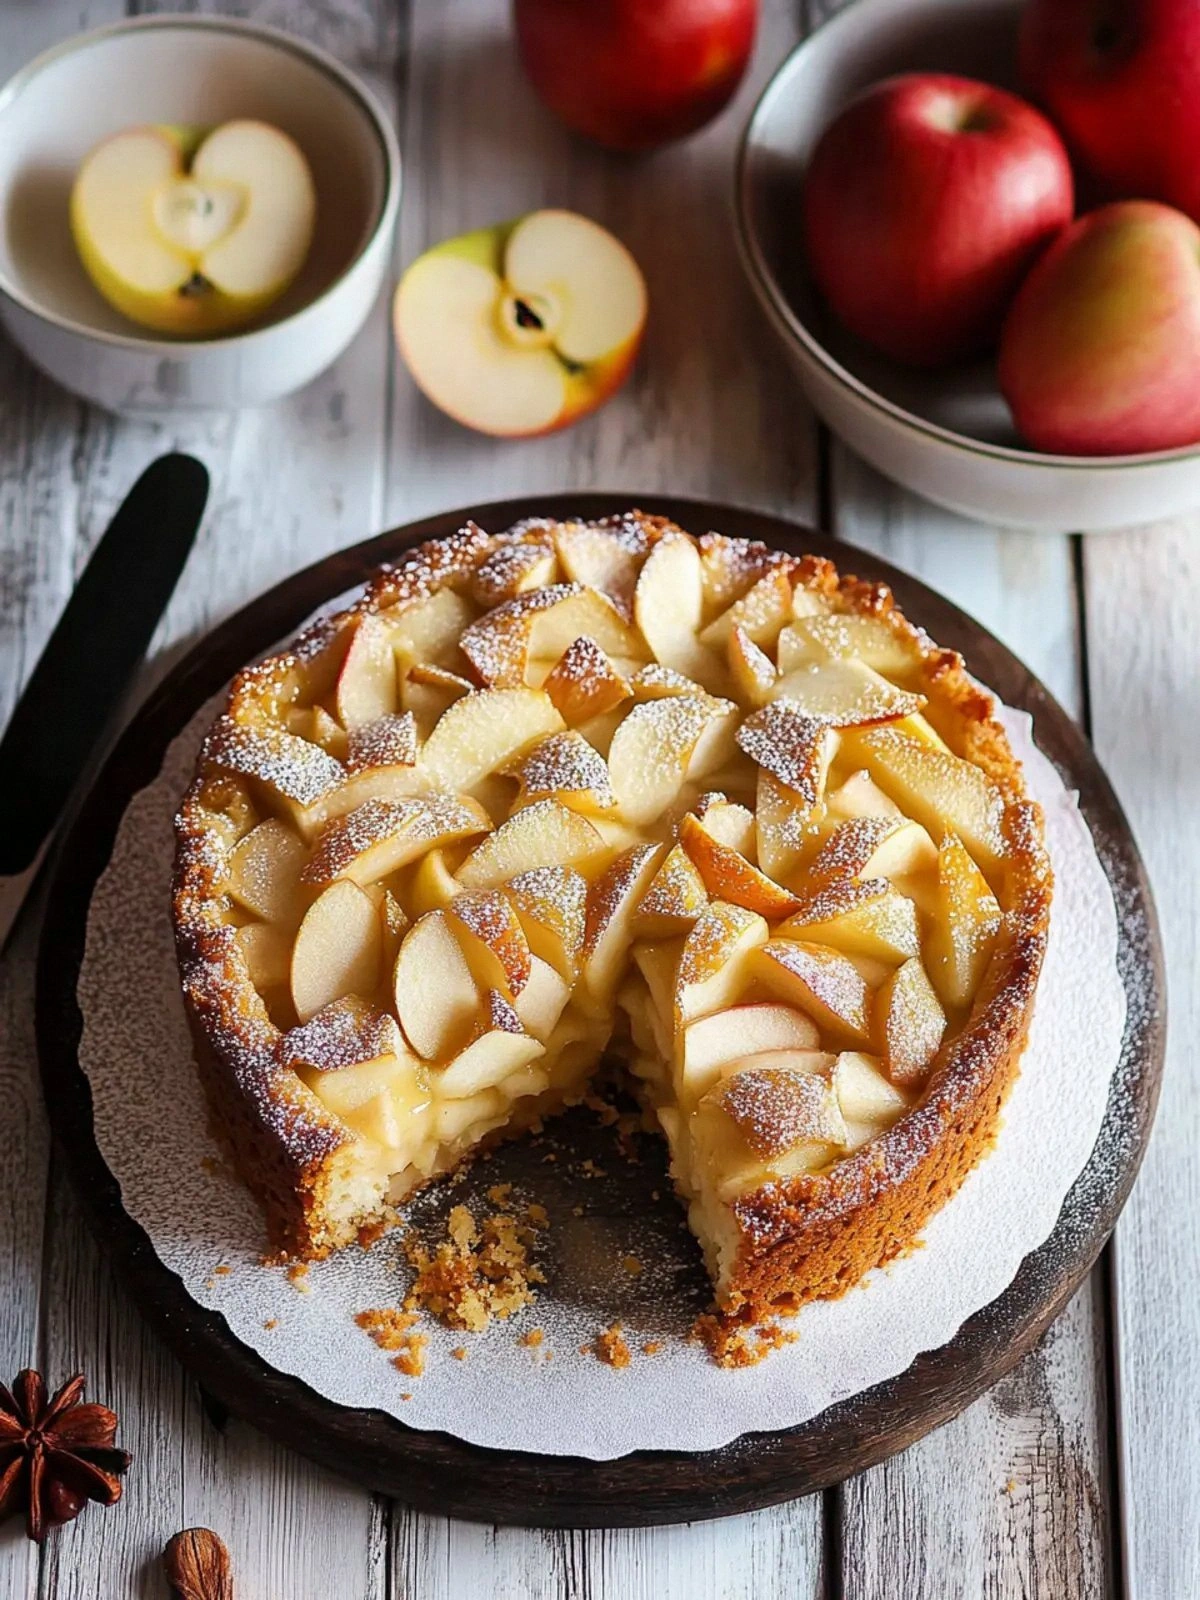
What makes this version stand out is that it’s not just another gluten‑free recipe. It’s a harmonious blend of textures: the crunch of crushed cookies, the tenderness of apples, the silky batter that holds everything together, and the delicate dusting of confectioners’ sugar on top. The flavor profile is a balance of sweet, buttery, and slightly tart, with a hint of vanilla that ties everything together. The use of sliced almonds or crushed gluten‑free cookies as the base adds a nutty depth that most recipes miss. The batter’s simple sugar and flour ratio keeps it light, while the butter creates a moist crumb that melts in your mouth. The result is a cake that feels both indulgent and comforting.
I’m about to reveal a technique that will make your apple cake rise like a cloud, with a crust that cracks like thin ice when you slice into it. The secret is in the way you combine the butter with the sugar and eggs before adding the flour, which creates a smooth emulsion that locks in moisture. I dare you to taste this and not go back for seconds. The first bite will make you question why you ever settled for ordinary, gluten‑free cakes. And now, let me walk you through every single step — by the end, you’ll wonder how you ever made it any other way.
When you’re ready to start, keep in mind that the key to this cake’s success is precision and patience. Each ingredient has a role, and the timing between steps is crucial. I’ll be honest — I ate half the batch before anyone else got to try it. That’s why I’m sharing every detail, so you can replicate the magic without any surprises. The next part is pure magic. Stay with me here — this is worth it.
What Makes This Version Stand Out
- Taste: The caramelized apples and buttery cookie crust create a flavor profile that feels like a dessert and a comfort food rolled into one. The subtle vanilla undertone lifts the sweetness without overpowering the natural apple flavor.
- Texture: The contrast between the crunchy cookie base and the tender crumb of the cake is a textural delight. The batter remains moist, while the top develops a golden, slightly crisp crust.
- Simplicity: With only ten ingredients, this recipe is a breeze for beginners and seasoned bakers alike. No complicated techniques, just straightforward mixing and baking.
- Uniqueness: The use of crushed gluten‑free cookies or sliced almonds as a base is a game‑changer. Most gluten‑free cakes rely on rice or almond flour alone, but this adds depth and crunch.
- Crowd Reaction: Friends who have tried this cake rave about how it tastes like a classic French apple tart but without the crust. I’ve seen them reach for seconds, then thirds, then the whole cake.
- Ingredient Quality: Using Washington State organic Gala apples ensures the highest quality fruit, giving the cake a bright, fresh flavor that stands out from the usual canned apple desserts.
- Cooking Method: The batter is whisked until smooth, then folded with the apples, ensuring even distribution of fruit. The baking time is short, making it a quick weekend treat.
- Make‑Ahead Potential: You can assemble the cake a day ahead, refrigerate it, and bake it the next day. The flavors meld, and the crust remains crisp.
Inside the Ingredient List
The Flavor Base
The crushed gluten‑free cookies or sliced almonds provide the foundation of flavor and texture. They act as a crunchy bed that holds the apples and gives the cake a nutty undertone. If you skip them, the cake will still bake, but it will lack that satisfying crunch. A good swap is crushed gluten‑free pretzels for a salty contrast, but the almond flavor is unbeatable for a classic taste.
The Texture Crew
The butter, sugar, eggs, vanilla, and gluten‑free flour work together to create a tender, moist crumb. Butter adds richness and helps the cake rise evenly. Sugar not only sweetens but also helps caramelize the crust. Eggs bind everything and give structure. Vanilla ties the flavors together, while the flour provides the necessary gluten‑free structure. If you replace the flour with oat flour, the cake will be slightly denser.
The Unexpected Star
Washington State organic Gala apples are the secret star that brings freshness to the batter. Their sweet-tart profile balances the richness of butter and the sweetness of sugar. If you can’t find Gala apples, Granny Smith or Honeycrisp will work, but they will alter the flavor profile slightly. Keep the apples diced small so they bake evenly and release their juices.
The Final Flourish
The confectioners’ sugar is the final touch that gives the cake a sweet finish and a delicate dusting that looks elegant. It also adds a subtle sweetness that balances the tartness of the apples. If you prefer a less sweet finish, reduce the amount or sprinkle it lightly. This finishing step is what makes the cake look ready for a special occasion.
Everything's prepped? Good. Let's get into the real action...
The Method — Step by Step
- Preheat your oven to 350°F (175°C) and line a 9x5 inch loaf pan with parchment paper. Grease the sides of the pan with a little butter to ensure easy release. The preheated oven guarantees an even rise, while the parchment keeps the cake from sticking.
- In a medium bowl, combine the crushed gluten‑free cookies or sliced almonds with 1/4 cup of sugar. Stir until the mixture is evenly coated; this will create a sweet, crumbly base that will hold the apples and give the cake a nutty crunch.
- In a separate bowl, whisk the butter and 3/4 cup of sugar until the mixture is light and fluffy. This is the moment of truth: the batter should look like a pale, airy mousse. The butter’s fat will help the cake rise and keep it moist.
- Add the eggs one at a time, whisking after each addition until fully incorporated. The eggs act as binders and provide structure. Be sure to let each egg dissolve before adding the next to avoid lumps.
- Fold in the vanilla or almond extract, then gently stir in the flour and pinch of kosher salt. This step requires patience: fold until the flour is just incorporated to avoid overworking the batter, which can make the cake dense.
- Gently fold in the diced apples, ensuring they are evenly distributed throughout the batter. The apples will release juices during baking, creating steam that keeps the cake moist.Watch Out: Do not overmix the batter after adding the flour; otherwise, the gluten‑free flour can become gummy, and the cake will become tough.
- Pour the batter into the prepared loaf pan, smoothing the top with a spatula. Press the cookie base gently into the bottom of the pan before pouring the batter to create a uniform crust. This will give you that beautiful, crunchy top when the cake bakes.
- Bake for 30-35 minutes, or until a toothpick inserted into the center comes out clean. The cake should develop a golden‑brown top and the edges will pull away from the pan slightly. Let it cool in the pan for 10 minutes before transferring to a wire rack.
- Dust the cooled cake with confectioners’ sugar using a fine sieve. The sugar will add a final touch of sweetness and a delicate visual finish. Slice and serve warm or at room temperature.
That's it — you did it. But hold on, I've got a few more tricks that'll take this to another level. These insider tips will ensure your cake is flawless every time.
Insider Tricks for Flawless Results
The Temperature Rule Nobody Follows
Many bakers bake at the maximum temperature, but the key to a tender crumb is a slightly lower heat. Bake at 325°F (165°C) and let the cake rise slowly; this prevents the outer crust from forming too quickly and keeps the interior moist. If you notice the cake browning too fast, cover the top loosely with foil for the last ten minutes.
Why Your Nose Knows Best
Your nose is a reliable indicator of doneness. When the cake starts to emit a warm, buttery scent, you’re close to the finish line. The aroma will shift from sweet to slightly caramelized as the sugar begins to brown, signaling the perfect time to pull it out of the oven.
The 5‑Minute Rest That Changes Everything
After baking, let the cake rest in the pan for five minutes before transferring it to a rack. This allows the steam to settle, preventing the cake from collapsing. The brief rest also lets the flavors meld and the crumb set, ensuring clean slices.
Avoiding the Crumb Crumble
If you notice the crumb tearing when you lift the cake, it’s probably because the batter was overmixed. Stick to the gentle folding technique and keep your mixing time to a minimum. The batter should feel smooth but not rubbery.
The Secret to a Crispy Crust
For a crispier crust, brush the top of the cake with a thin layer of melted butter before baking. The butter will melt into the top, creating a golden, crisp finish that’s hard to resist. If you prefer a lighter crust, skip this step and let the natural sugar caramelize.
Creative Twists and Variations
This recipe is a playground. Here are some of my favorite ways to switch things up:
Nutty Surprise
Swap the crushed gluten‑free cookies for toasted pecans or walnuts. The nutty flavor will complement the apples and add a new texture dimension. Use a coarse chop for extra crunch.
Citrus Kick
Add a tablespoon of orange zest to the batter for a bright, citrusy note that cuts through the sweetness. The zest will release essential oils that enhance the apple flavor. This variation is perfect for spring and summer baking.
Spiced Delight
Stir in 1/2 teaspoon of ground cinnamon and a pinch of nutmeg. The warm spices bring a comforting aroma reminiscent of apple pie. This version is ideal for cooler evenings.
Chocolate Swirl
Fold in a handful of dark chocolate chips before baking. The chocolate will melt into pockets of gooey sweetness, creating a decadent twist. The chocolate also pairs well with the caramelized crust.
Low‑Sugar Version
Replace the 3/4 cup of sugar with 1/4 cup of honey and reduce the confectioners’ sugar to 1/2 cup. The honey will provide a subtle floral sweetness, while the lower sugar content keeps the cake lighter. This option is great for health‑conscious bakers.
Gluten‑Free Cake Bowl
Bake the batter in a 9-inch springform pan instead of a loaf pan. This gives the cake a classic shape that’s perfect for dessert platters. The springform allows for easy removal without damaging the crust.
Storing and Bringing It Back to Life
Fridge Storage
Wrap the cooled cake tightly in plastic wrap and store it in the refrigerator for up to five days. The wrap prevents the cake from drying out and keeps the moisture locked in. When you’re ready to serve, let it sit at room temperature for 15 minutes before slicing.
Freezer Friendly
Wrap the cake in parchment paper, then in a double layer of plastic wrap before freezing. It can be stored for up to two months. When thawing, place the cake on a plate and let it sit at room temperature for an hour; the crust will regain its crispness.
Best Reheating Method
To reheat, preheat your oven to 300°F (150°C). Place the cake on a baking sheet and cover loosely with foil. Bake for 10-12 minutes, or until warmed through. Add a tiny splash of water to the pan before reheating; it steams the cake back to perfection, preventing dryness.